As an update to the deck removal, I thought I’d fill you in on some of the work we’ve been doing on the master bedroom.
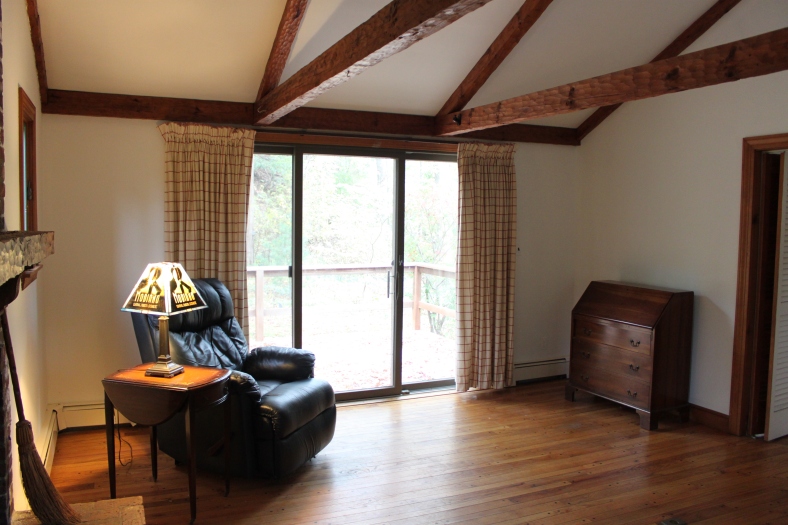
Our Master bedroom was once the family room in the addition of the house, it’s the only room in the house with high ceilings, but it had a strange railroaded bedroom and the original master bedroom was a little small by current standards. Since it was just me and the big guy, we decided to transform this rustic family room into our own getaway.
What we started with was a fairly square room with accordion louver doors and rough timber beams, LOTS of spiders (my personal kryptonite) and a healthy amount of phosphorescence growing on the bricks of the fireplace. This last one is a fun kind of mineral salt that seeps through the bricks with too much mositure causeing them to discolor or turn white. Best bet is to brush it off until it stops…
Armed with our inspiration from Santorini (see Honeymoon post!) we set forth to try and tame this room, eradicate the wildlife, and bring some style to this place!
The big guy needed a LOT of sandpaper to tackle smoothing out the beams a bit. We had to take off the rough edges of the timbers which gave it this crazy giraffe look, the flooring guys came in and asked how we did it!
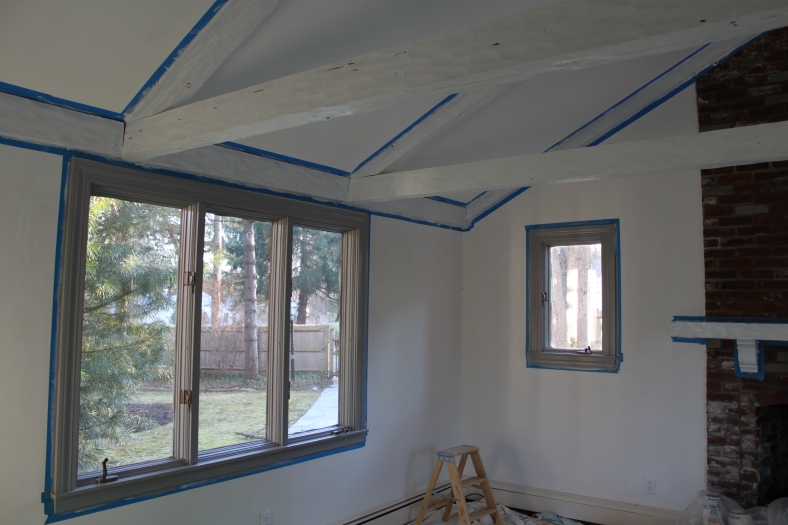
My brother, Pat, needed a LOT of painters tape…
And I needed a LOT of paint.. all low VOC may I add, no extra headaches needed for this project!
The hubs caulked all the seams around the beams to keep the drafts out, and I brushed the bricks down with a wire brush. I actually like the aged brick and the white residue adds a little more patina which actually looks great with the paint. By the way, we used a lot of primer to get that wood covered, and paint. I really looks so much bigger and lighter now, it’s just a perfect backdrop for our bedroom!
I will leave you here to be continued with the big reveal in Part 2 when we have it all decorated and put together!


